
Creating a Blog Using Next.js and GitHub Pages: Steps for Beginner Developers
Hello! Today, I'll share my experience creating my blog using Next.js and hosting it on GitHub Pages. This step-by-step guide is designed for beginners in development who want to create their blog with minimal effort. Let's get started!
Quick Start:
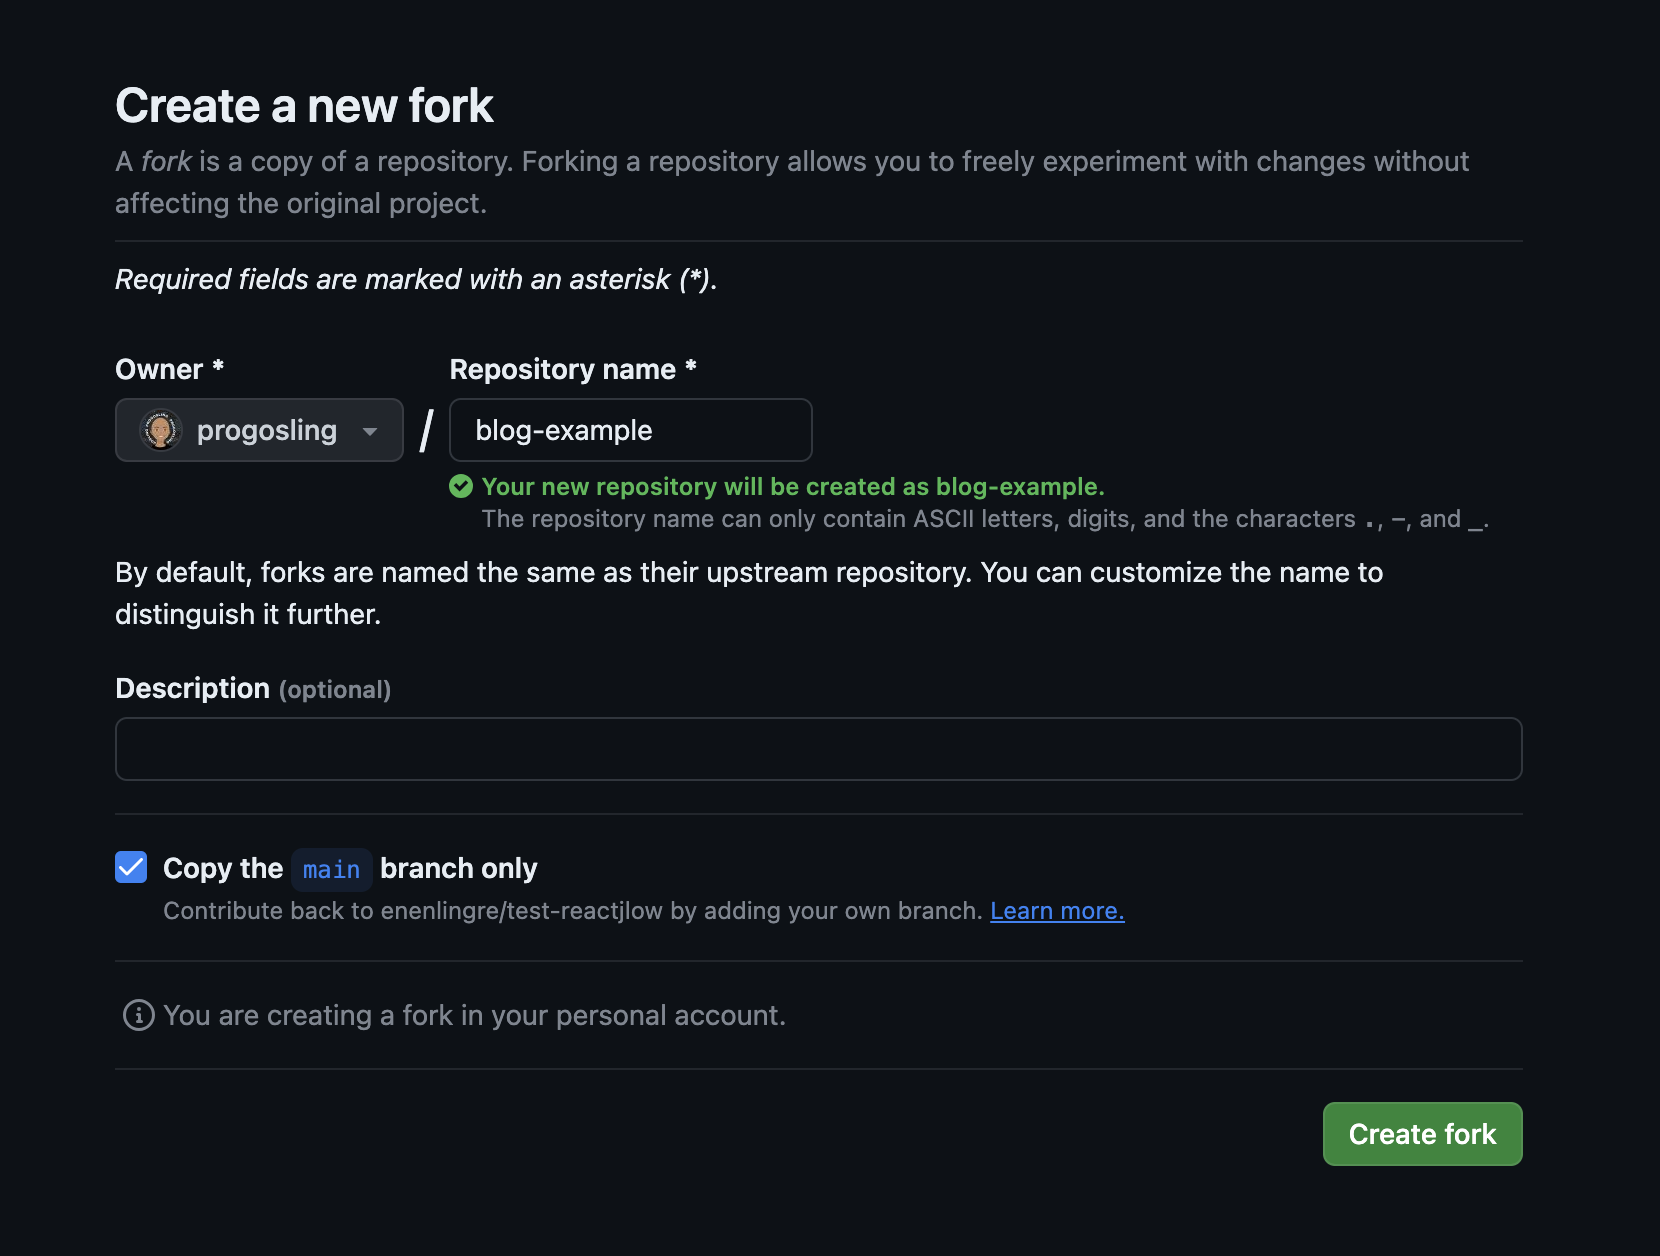
If you want to save time, you can use my GitHub repository and skip the "Installing Next.js and the Ready Template" and "Uploading to GitHub" sections. Fork my blog by going to https://github.com/progosling/blog-example/fork and clicking "Create fork."
Installing Next.js and the Ready Template:
Let's start by installing a ready template for the blog provided by Vercel. Use the following commands:
npx create-next-app --example blog-starter blog-starter-app
# or
yarn create next-app --example blog-starter blog-starter-app
# or
pnpm create next-app --example blog-starter blog-starter-app
Now you have all the blog code.
Publishing Articles:
All articles are stored in the /_posts folder in Markdown format. Simply add a new Markdown file to the /_posts folder, and the new article will appear on your blog.
At the beginning of the article file, be sure to add this piece of code, but edit its contents according to your article.
---
title: "Article 1"
excerpt: "Description"
coverImage: "/images/image.png"
date: "2024-01-23T09:00:00.322Z"
ogImage:
  url: "/images/image.png"
---
Where title is the title of the article. excerpt is the description. coverImage is the header image of the article.
date is the publication date of the article. ogImage is the image for the page's meta tags.
Blog Images:
The blog image should be placed in the public/assets folder. In your article, you can use these images by specifying the path to them without specifying public, here's an example of how to specify the path for the image /images/image.jpg.
Uploading to GitHub:
Create a new repository on GitHub and execute the following commands in the terminal to upload your code to GitHub:
git init
git add .
git commit -m "Initial commit"
git remote add origin [link to your repository]
git push -u origin master
Now your code is available on GitHub.
GitHub Pages and GitHub Actions:
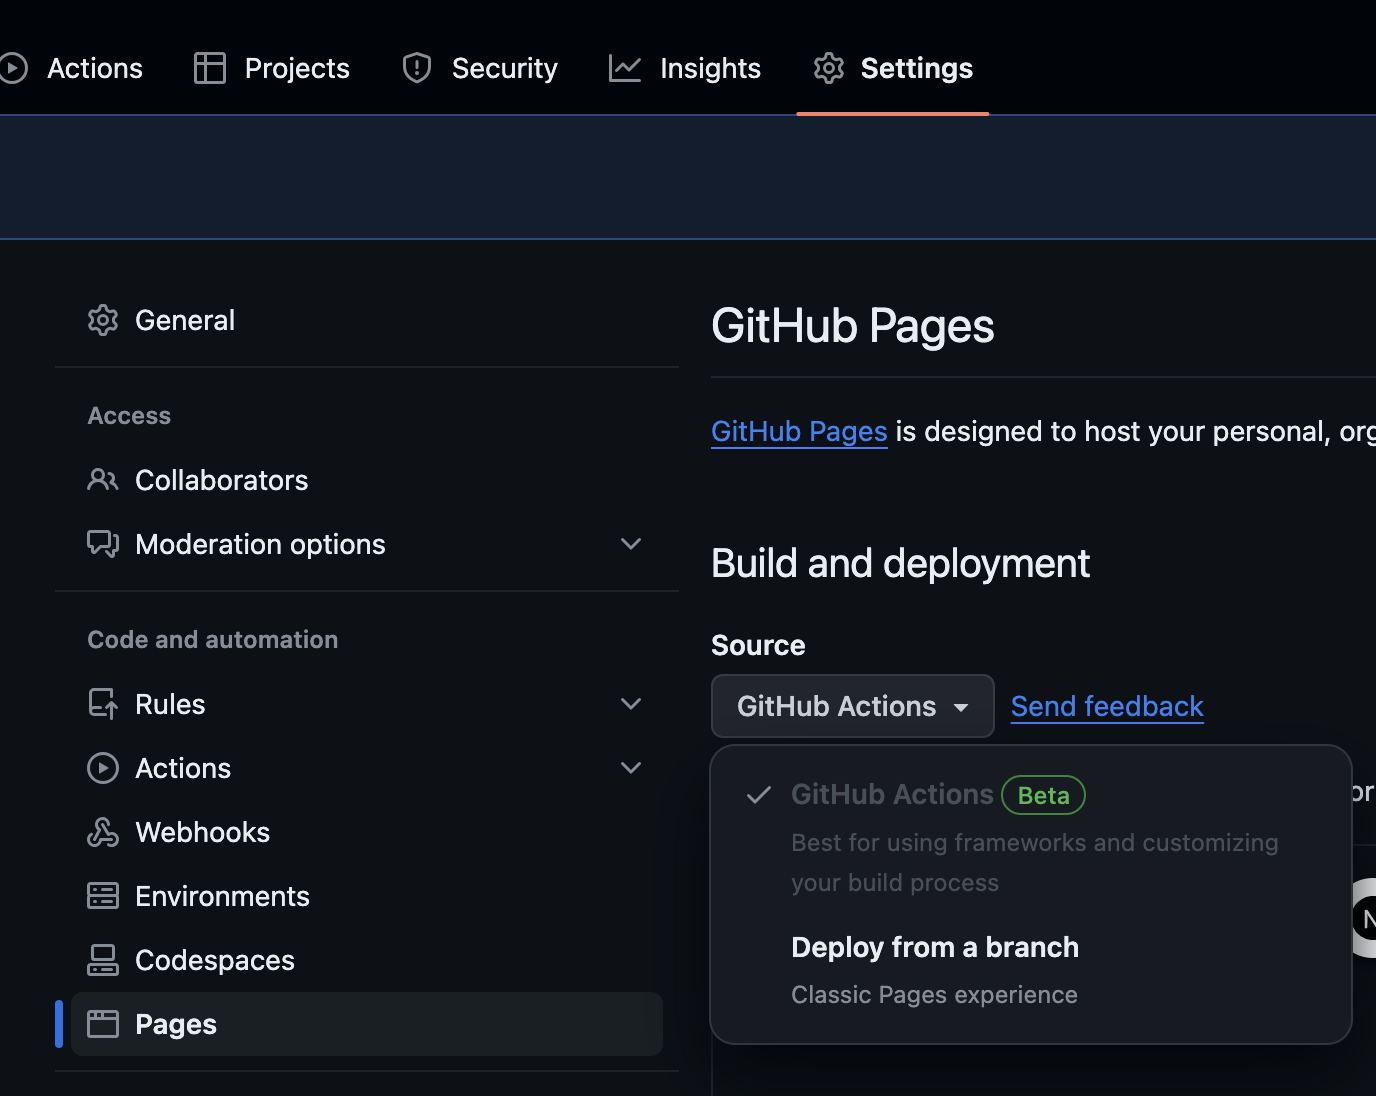
GitHub Pages and GitHub Actions: Go to the settings of your GitHub repository and enable GitHub Pages. In the source, choose GitHub Actions.
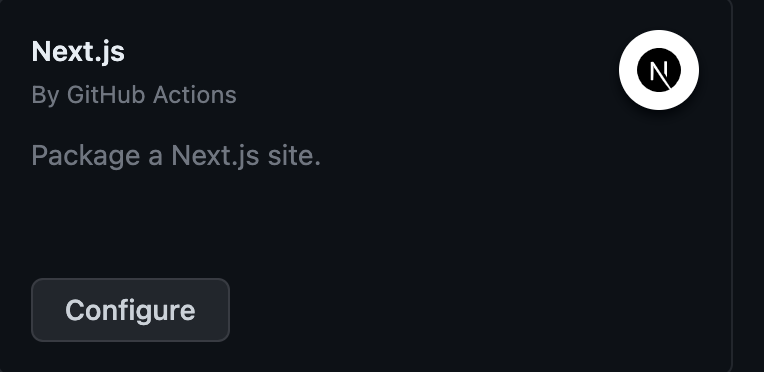
Select the Next.js workflow and click Configure.
Save the file and wait for GitHub Actions to perform the first deployment. Now your blog automatically updates every time you make changes to the project. Congratulations, your blog is ready to use! It will be located at your-username.github.io/blog-example.
You can check out an example of the blog on this page and in this repository.

